May
So you’ve purchased a beautiful piece of printable wall art — now what?
Printing digital artwork can feel overwhelming if you’re new to it. But don’t worry — whether you’re printing at home or using a professional service, this guide will walk you through everything you need to know to turn your digital downloads into stunning print-at-home artwork that enhances your space.
🎨 Step 1: Choose the Right Digital File
When you purchase digital wall art from Kenogi.com, you typically receive high-resolution files in various sizes (e.g., 24×36″, 18×24″, 11×14″, 16×20″, ).
Before printing:
- Check the aspect ratio: Match the file to the size you want to print.
- Use the highest resolution version available (usually 300 DPI) for the sharpest quality.
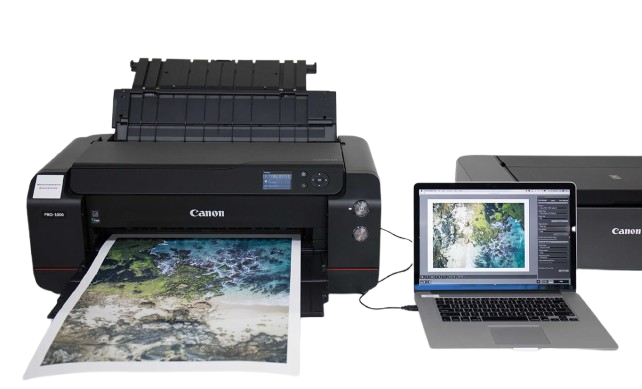
🖨 Step 2: Decide Where to Print
You have two main options: at home or with a professional print service.
✅ Print at Home (Best for small prints)
- Great for sizes up to 8×10 inches.
- You’ll need a good inkjet printer (photo printers are ideal).
- Use high-quality paper (see Step 3).
- Set your printer to “Best” quality mode in settings.
✅ Print Professionally (Best for larger or premium prints)
- Use local print shops like Staples, Office Depot, or FedEx.
- Or go online: Shutterfly, Vistaprint, Canva, or Printful.
- Upload your digital download, select your size, paper, and finish.
- Many offer framing options too!
📄 Step 3: Pick the Best Paper for Printable Decor
The paper you choose makes a huge difference in the final look and feel of your artwork.
Recommended Paper Types:
- Matte photo paper – Great for modern, clean prints.
- Glossy photo paper – Vibrant, high-contrast finish (ideal for colorful prints).
- Cardstock – Affordable and great for framing, especially for quotes or minimalist designs.
- Fine art paper – For professional, museum-quality results.
👉 Pro Tip: Always use paper that’s acid-free and heavyweight (at least 200 gsm) for longevity.
🖼 Step 4: Choose the Perfect Frame
The right frame enhances your printable wall art and ties your décor together.
Here are a few ideas:
- Black or white frames for a modern look
- Wood frames for warmth and a natural touch
- Clip frames or floating frames** for a minimalist vibe
💡 Add a mat (white border inside the frame) for a professional gallery-style finish.
🛠 Step 5: Resize and Trim If Needed
Sometimes, the print size may not match your frame perfectly. Here’s what to do:
- Use free tools like Canva or Adobe Express to resize before printing.
- Or trim your print after printing using a paper trimmer or X-Acto knife for clean edges.
🧽 Step 6: Care for Your Print
To keep your print-at-home artwork looking fresh:
- Avoid hanging in direct sunlight to prevent fading.
- Use UV-protective glass if framing near windows.
- Keep away from moisture (especially in kitchens or bathrooms).
✅ Final Thoughts
Printable decor is one of the easiest ways to update your space with style, personality, and creativity — without the wait or cost of traditional art.
Whether you’re a DIY enthusiast printing at home or prefer the crisp finish of a professional lab, following these simple steps will help you get the best results from your digital wall art files.
Ready to Get Started?
Explore our collection of printable wall art at https://kenogi.com/shop — from motivational quotes to Christian designs, we have the perfect pieces to bring your walls to life!